Showing posts with label DIY. Show all posts

Thursday, March 15, 2012

A Super Easy Lantern DIY For The Home

Hurrah!  The weekend is nearly upon us and that means I have some time to do some easy tricks to beautify the home.  On my radar is this beautiful lantern installation, straight from fashion designer Vannessa Bruno's Paris apartment.  I love how she's taken a $7 Ikea lantern and by using them en masse she's created a structural display.  I could see this taking up a unadorned corner of my house!!


Source: Remodelista

Sunday, February 26, 2012

DIY Art For $4! Hello!

Would you be interested if I told you you could make your own large scale art for all of $4?  How about hell to the yes!  The uber talented Jenny from Little Green Notebook saw this tutorial which inspired her to take an amazing 1960's image of a temple and turn it into an artwork for her commode.  All she had to do was scan and print her picture at kinko's and then attach it to some foamcore.  I love for some extra interest she painted the edges in red.  It really pops doesn't it?


Source: Little Green Notebook

Monday, February 13, 2012

3 Last Minute Valentine Gifts You Could Do Right Now

Oh jeepers, its Valentines Day today and so far.... nothing is planned for The Big A!  It's a bit different to my girl scout preparedness of the past few years but luckily I've got a few instant ideas on how to share the Valentines love.  First up, make a mix tape.  In the past I've done love song dedications daggy I know!) but you could just as easily do a mix of his favourite songs.  Next up, make the night special by bathing the house in candle light.  The Big A did this a few years ago when we had just moved to London and had no money.  It didn't matter, a simple gesture of candle light turned the Valentine vibe on!  Last up, how about making a heart shaped collage of the two of you?  Print and cut some photos (I'd be going straight to Facebook and Instagram) and then arrange in a heart.  Do you have any last minute Valentine suggestions?


Thursday, February 2, 2012

The Most Darling Wedding DIY Weekend Project

Oh goody, its nearly the weekend and I can't wait to get stuck into some DIY projects.  I'm loving this transferable chalkboard stencils all the way from Poppytalk.  They've used them as a decorating motif but I could see a little DIY hack wedding styles!  How about these as a table number motif for your reception? It's a perfectly refined look to add some character to your table.  Check out how to create your stencil here!


Source: Poppytalk

Tuesday, January 17, 2012

DIY Striped Curtains! Cheap and Easy!

Boldly striped curtains command attention in a room.  They are strong, impactful and I love them, but finding striped curtains at a reasonable price is a whole other story.  Until now.  Lovely Indeed has this ace tutorial on how to create your own striped curtains at next to nothin.  Check it out.

"I sewed curtain panels from simple muslin material, and decided how wide I wanted my stripes according to how tall the panels were (this will take a little math on your part).  Then, I taped off the areas that I wanted striped.  Keep in mind that when the tape is down, some stripes will look wider because you’ll have to allow for the width of the actual tape. I laid the taped panels on a dropcloth (which was actually a dollar store plastic tablecloth) and started painting.  The paint I used was a color that we had previously used on our walls, so it was straight-up Benjamin Moore.  I mixed in a bit of fabric medium (found at Michael’s Crafts) so that the paint wouldn’t stiffen or crack when it dried.  Lots of online tutorials say to use a roller for this part, but I found a paintbrush to be much more effective and just plain faster. Okay, dudes.  Now paint.  Paint like your life depends on it.  I had six panels, and I ended up having to split the painting over a couple of days because the project started taking (waaaay) longer than expected.  Let the paint dry a bit and pull off your tape"


Wednesday, December 21, 2011

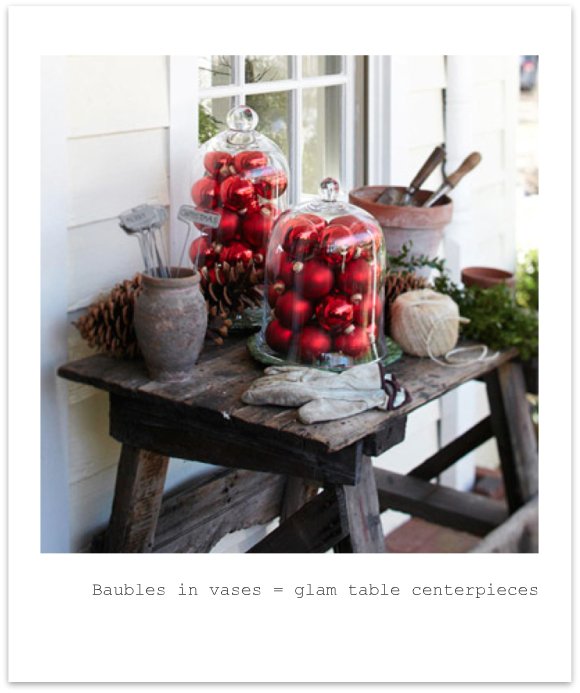
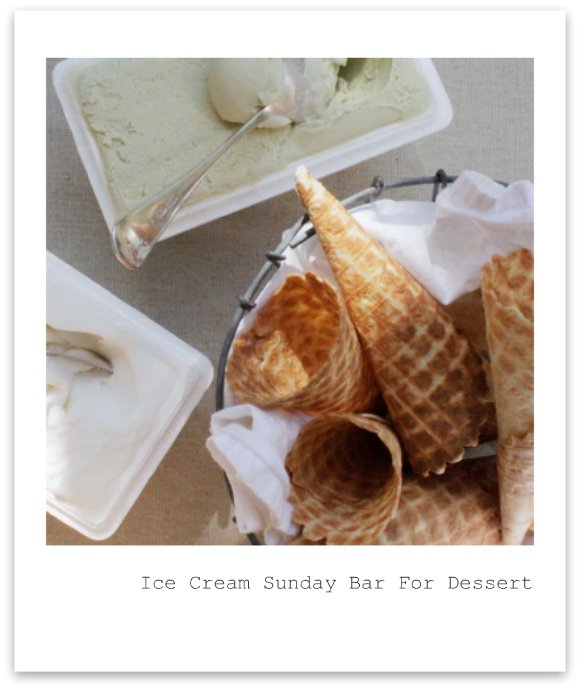
5 Simple Tricks We'll Be Doing to Decorate Our Christmas Meal

Well my lovelies Christmas is nearly upon us, can you feel the excitement?  Every year my Aunty, mum and I love to plan the look and feel of the meal.  From table decorations to special touches to make the night memorable we've been planning up a storm.  Here's 5 simple tricks we'll be doing to decorate our Christmas.  What's your inspiration for Christmas day?


Source: Party Resources, Martha Stewart, Martha Stewart, Sunday Collector, Lovely Indeed

Easy Ideas For Your Photobooth Backdrop

One of my favourite parts of our wedding was the Photobooth, I loved being able to play art director and pull together how it was going to look and feel.  Outside of the people, the backdrop is the most important part to give a strong photo.  From sheets strung together for a homespun feel to hanging fabric streamers for something whimsical it can be super easy.  If you are after a little more effort then think about mini bunting for a DIY look or masses of tinsel overlapping for a serious party vibe.  Whatever you do, project the kind of wedding you want!


Source: Blush, FY Wedding Ideas, The Natural Wedding Company, Blush

Wednesday, December 14, 2011

2 Ways To Decorate Your Lawn At A Garden Wedding

Wedding's always get me when there are unexpected details that just take everything up to the next level.    So how about some ideas to get some decoration amazement at the lawn of your garden wedding?  There are some really simple ways to make it fun and make it impactful......

 When you have an expansive lawn its a great idea to create some detail and fun with a decorative item.  How about some oversized lanterns dotted around the lawn?  And for extra points, put some lighting inside so as the sun goes down your lanterns are going to put some glow into the lawn.

If you want a simple DIY that will have maximum impact how about an oversized pair of your initials? You could make these from cardboard, foam or wood - paint them to fit with your colour scheme or for some razzle dazzle cover them with glitter.  

Source: Green Wedding Shoes, Sitting In A Tree Events

Saturday, December 10, 2011

An Easy Peasy Christmas Gift

Okay so I don't normally post on Sundays, but I just couldn't resist showing you the results of this weekends baking.  I wanted to create an easy peasy Christmas gift so Pammy (aka my super star mum), my sister and I baked up a storm with the most delicious chocolate and oatmeal cookies.  We've wrapped everything up and made some labels to boot.  Voila!  Easy Peasy christmas presents.


Thursday, December 1, 2011

Wrap Your Christmas Gifts Beautifully This Weekend

My darlings, the Christmas season is upon us.  It's about this time that I start thinking about what theme I'll be wrapping up all the goodies in.  So far I'm in a kraft paper and bunting idea but oversized letters of using fabric could be an idea too.  Oh the choices!  Which one do you like best?


Source: PaperMash, Older and Wiser, Martha Stewart, Bugs and Fishes by Lupin,  Martha Stewart,  Bugs and Fishes by Lupin

Wednesday, November 30, 2011

Bird and Banner Sewn On Invitations

Today I have another good for you from Bird and Banner.  They are oh so clever with their invitations and design and I can't get enough of them!  Just check out this sewn on detail to Jessica and Jamies's rehearsal dinner - restraint, chic and with just a little touch of DIY these are beautiful!


Wednesday, November 16, 2011

A Clever DIY You Could Try This Weekend

The weekend is nearly upon us and I have a brilliant DIY idea to share from A Beautiful Mess.  Inspired by her favourite song lyric and a surplus of art.  She made this clever little piece of art using Helvetica letter stickers and white paint.  Boy she's clever.

You can check out the full step by step here (PS - Does that make anyone else think of NKOTB? hahaha)  Or take a look at this little snapshot of the fun.

Source: <` href="http://abeautifulmess.typepad.com/my_weblog/2011/08/song-lyric-wall-art-diy-project.html">A Beautiful Mess

Monday, October 31, 2011

Using Your Shopping Bags To Glam Up A Space

Looking for an easy way to glam up a special place in your home?  Your bedroom?  Your dressing room?  (P.S. If you have a dressing room instead of a closet I applaud you! Hehe)  Ms Moth from Moth Design had a brilliant idea to frame some of her shopping bags and create a gorgeous installation.  She used frames are from Ikea to frame some of her 'special' purchases.  I love it!


Source: Moth Design

Tuesday, September 13, 2011

Rethinking Reception Entertainment

Who says your only wedding reception entertainment has to be a DJ/Band and perhaps a photobooth thrown in?! That's right, no one! When thinking of ways to entertain your wedding guests, try thinking out of the box for a change. Do you and your fiance live for nights by the fire? Do you love spending countless summer afternoons playing lawn games? Don't worry if you haven't seen it in a wedding magazine or on a wedding blog, just do what feels right to YOU. Here are a few fun ways you can entertain your guests...outdoors, of course! :) 

Firepit/Camp fire.


Lawn Games - Bean Bag Toss (Cornhole) & Croquet.


Lawn Games - Horseshoes. 


Photo credit # 1 :: Marianne Wilson Photography. 
Photo credit # 2 :: Green Wedding Shoes.  
Photo credit # 3 :: Prepare to Wdd.

Friday, August 5, 2011

Black + Yellow Chalkboard Framed Signage


I stumbled upon these black + yellow 'Bride & Groom' chalkboard signs on Style Me Pretty this morning, and wanted to share with our Pittsburgh brides. These signs are super simple to make, and would be a great addition to a black + yellow color palette. 

Tip :: Get creative with your frames, and don't fret if you can't find a chalkboard small enough to frame...use chalkboard paint on virtually any surface (even glass!) for an instant chalkboard!

Photos courtesy of Annie McElwain Photography via Style Me Pretty.

Wednesday, August 3, 2011

Suspended Wedding Decor

One of my favorite trends in the wedding industry right now is suspended decor. I absolutely cannot get enough of it! You can hang virtually anything to match the look and feel of your wedding style. My favorite look right now is hanging decor from trees (more on that later), which works great for outdoor events. Whatever route you decide to go, proper planning is key. Be sure to discuss your wishes for hanging decor well in advance with your venue(s), and decide when these items will be hung. I recommend a test run prior to the wedding day, in order to iron out any kinks that may occur. Remember, hanging decor is not the easiest task in the world, but if you plan ahead of time, you can save yourself a great deal of time and stress in the long run.

Below are a few ideas that I hope inspire you...happy planning! 

Flower bottles.


Hanging frames. 


Chandeliers from trees. Swoon!


Vintage bird cages.


Mason jars. Oh, how I love thee!


Ribbon streamers.


Paper lanterns. 


Photo credit # 1 :: Eat Drink Chic
Photo credit # 2 :: Ruffled Blog   
Photo credit # 3 :: Everything is Better in Heels  
Photo credit # 4 :: Ruffled Blog 
Photo credit # 5 :: Green Wedding Shoes 
Photo credit # 6 :: Chiq Weddings
Photo credit # 7 ::  Wedding Bee

Thursday, July 28, 2011

Moss Wedding Decor Inspiration


Several of our previous clients have incorporated moss into their wedding design, and I absolutely love it! Something about the rustic, natural look of it makes me think of growing up in the South. Moss is really quite simple, yet incredibly versatile. I never get tired of seeing those moss covered initials either. Seriously. I love them! Since moss is fairly easy to work with (and readily available), it's also the perfect ingredient for the DIY bride too. 

Tip :: Artificial and preserved moss can typically be found in most craft stores, but if you are looking to order it for a large DIY project, contact your florist to see if they can order it at a discounted bulk rate.

Photo credit # 1 :: The Wedding Chicks
Photo credit # 2 :: Spotted Leopard Etsy Shop
Photo credit # 3 :: Spotted Leopard Etsy Shop
Photo credit # 4 :: Wedding Dress Blog
Photo credit # 5 :: Elizabeth Anne Designs